Overview
Creating a new website requires you to:- Create a new website folder
- Add the required images
- (Optional) Copy an existing website as a starting template
- Connect the website to the hotel screen ui
- Changing the website colors
Step 1: Create the Website Folder
You need to create a new folder for your website.Folder Location
The folder must be created inside:Folder Naming Format
The folder name must follow this format:Example
If your hotel is called Opium Nights Hotel, the folder name should be: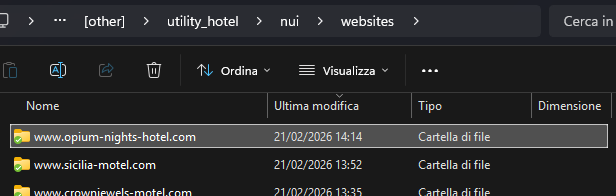
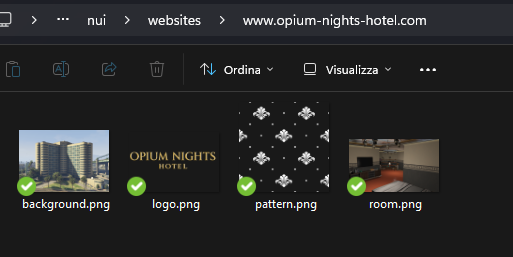
Step 2: Add Required Images
Inside your new website folder, you must add all required image files. These usually include:- Background image
- Hotel logo
- Pattern image
- Room image
- Image names match what the website expects
- Images are placed directly inside the website folder
Step 3: (Optional) Copy an Existing Website as a Template
To make things easier, you can copy an existing hotel website folder and use it as a starting point.How to do it:
- Go to
nui/websites/ - Copy an existing folder
- Rename it to your new website name (example:
www.opium-nights-hotel.com) - Replace the images with your own
- The structure is already correct
- You only need to change the images
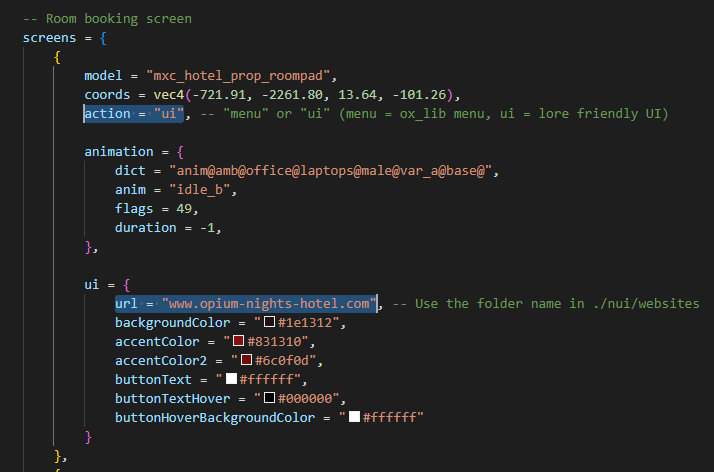
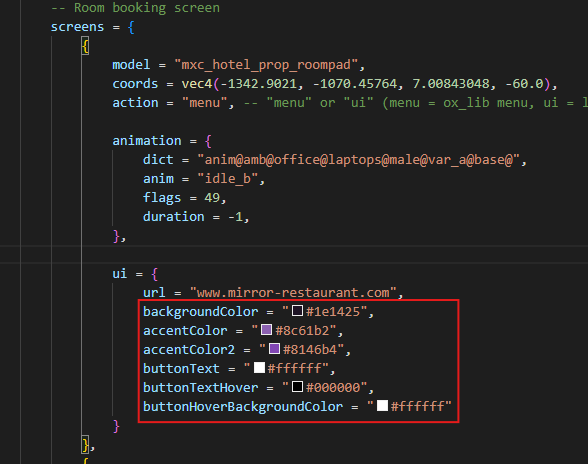
Step 4: Connect the Website to the Hotel Screen UI
After creating the website folder, you must configure the hotel screen UI to use it.What to do:
- Open the
config.luafile - Navigate to the hotel that you want to use the new website
- Locate the
screenssection - Be sure that the
actionfield is set toui - Inside the
uisection, locate the url field and set it to your website folder name
Step 5: Changing the Website Colors
You can customize the website colors directly from the screen UI configuration. This allows you to adapt the look of the website to match your hotel branding while keeping the original layout and structure.Available Color Settings
Inside the screen UI configuration, you will find these color properties:backgroundColor
This controls the main background color of the website.
accentColor
This is the primary accent color. It is mainly used for:
- Buttons
- Highlights
- Important UI elements
- Decorative details
accentColor2
This is the secondary accent color. It is used for:
- Button shadows
- Depth effects
- Secondary decorative elements
accentColor2 to a darker variant of accentColor
This preserves proper contrast and maintains the intended visual depth of the interface.
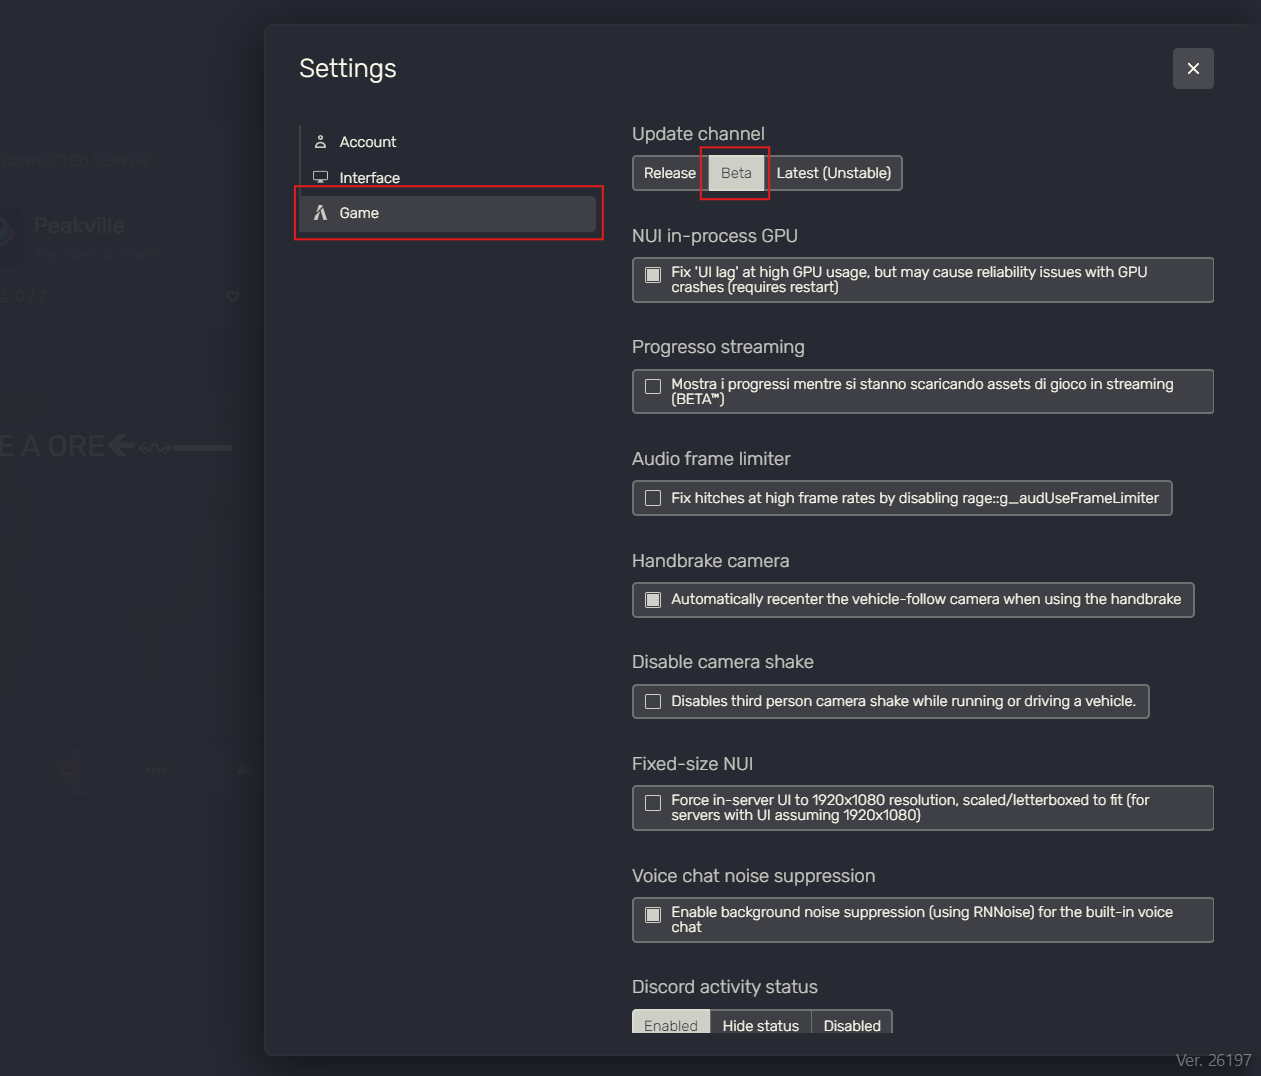
Using FiveM NUI DevTools to Test Colors in Real Time (Recommended)
To speed up the setup process, you can modify colors live at runtime using the FiveM NUI DevTools. This allows you to experiment with different color combinations instantly, without restarting the resource or editing files repeatedly.1. Preparation
To be able to use the FiveM NUI DevTools, theBeta channel must be selected in the FiveM client settings under Game.
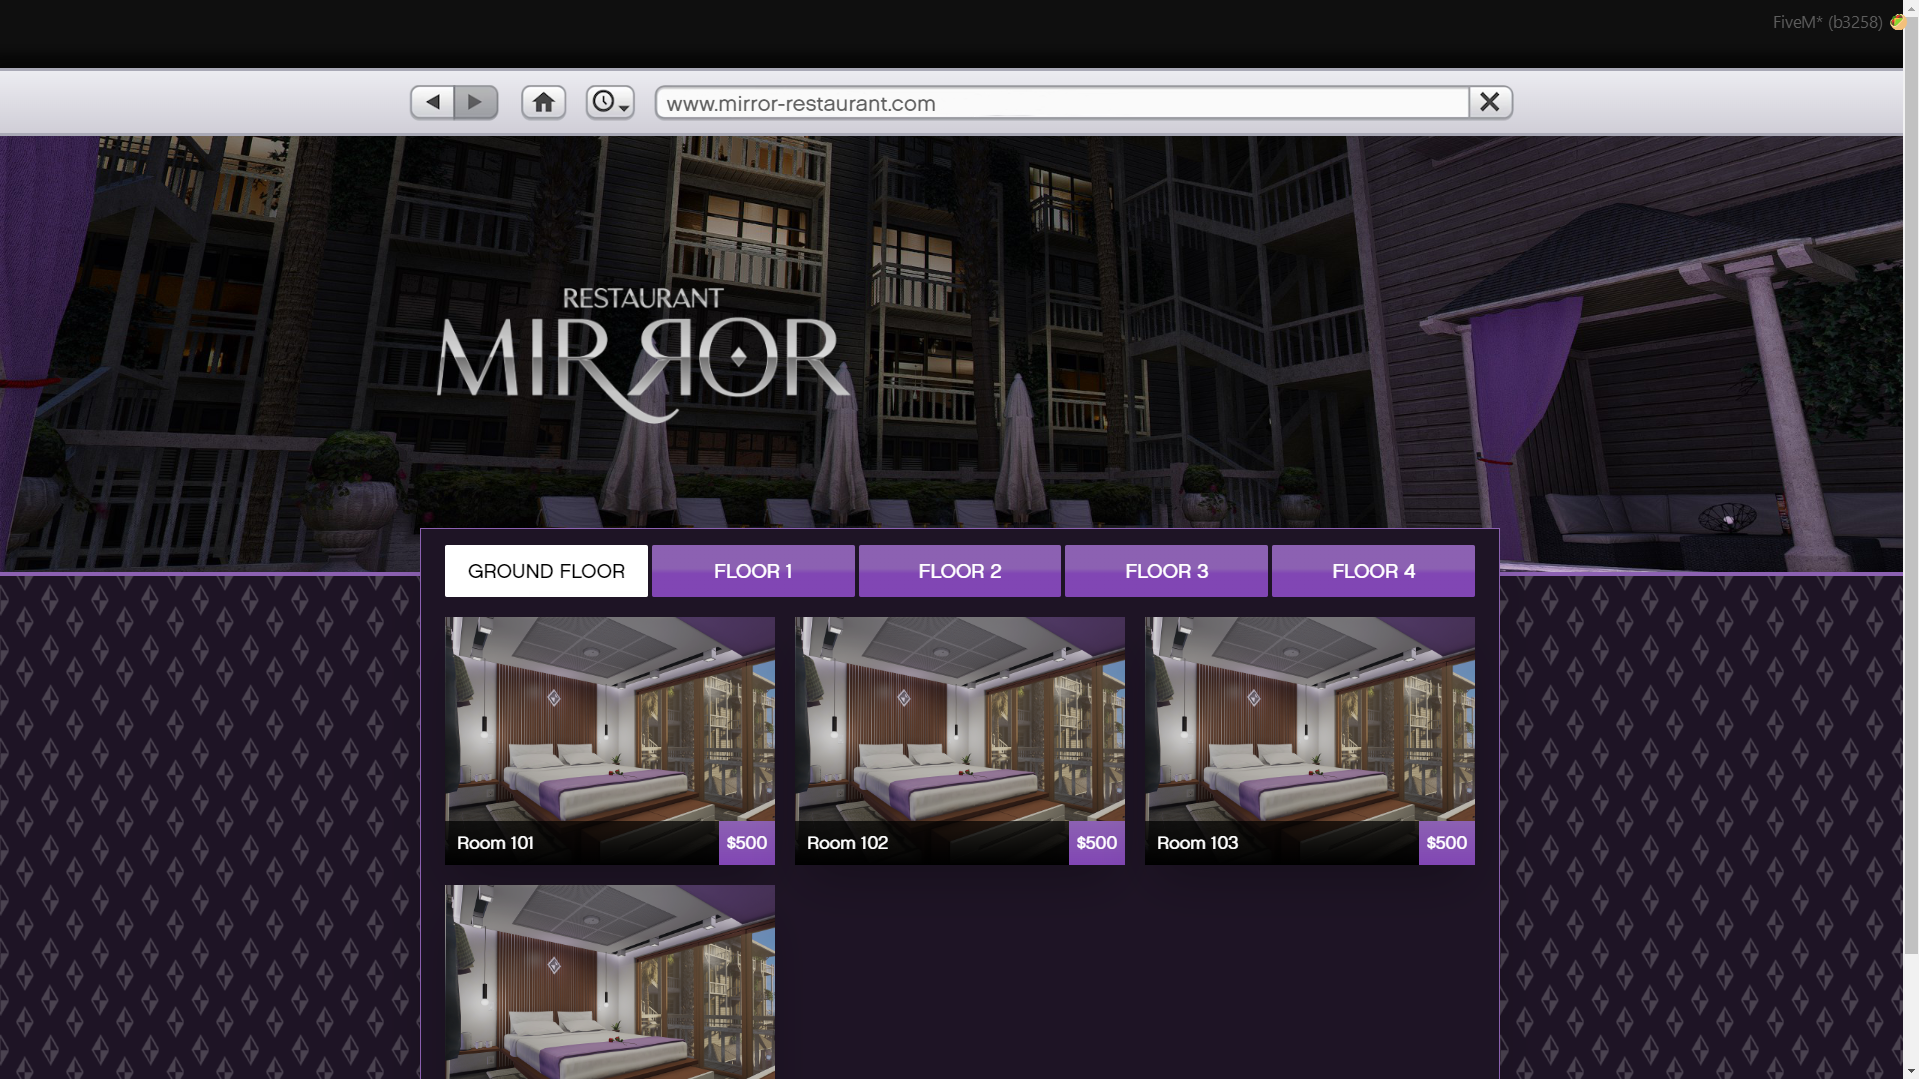
2. Open your selected screen UI
3. Open the FiveM Console
Press F8 while in game to open the FiveM console.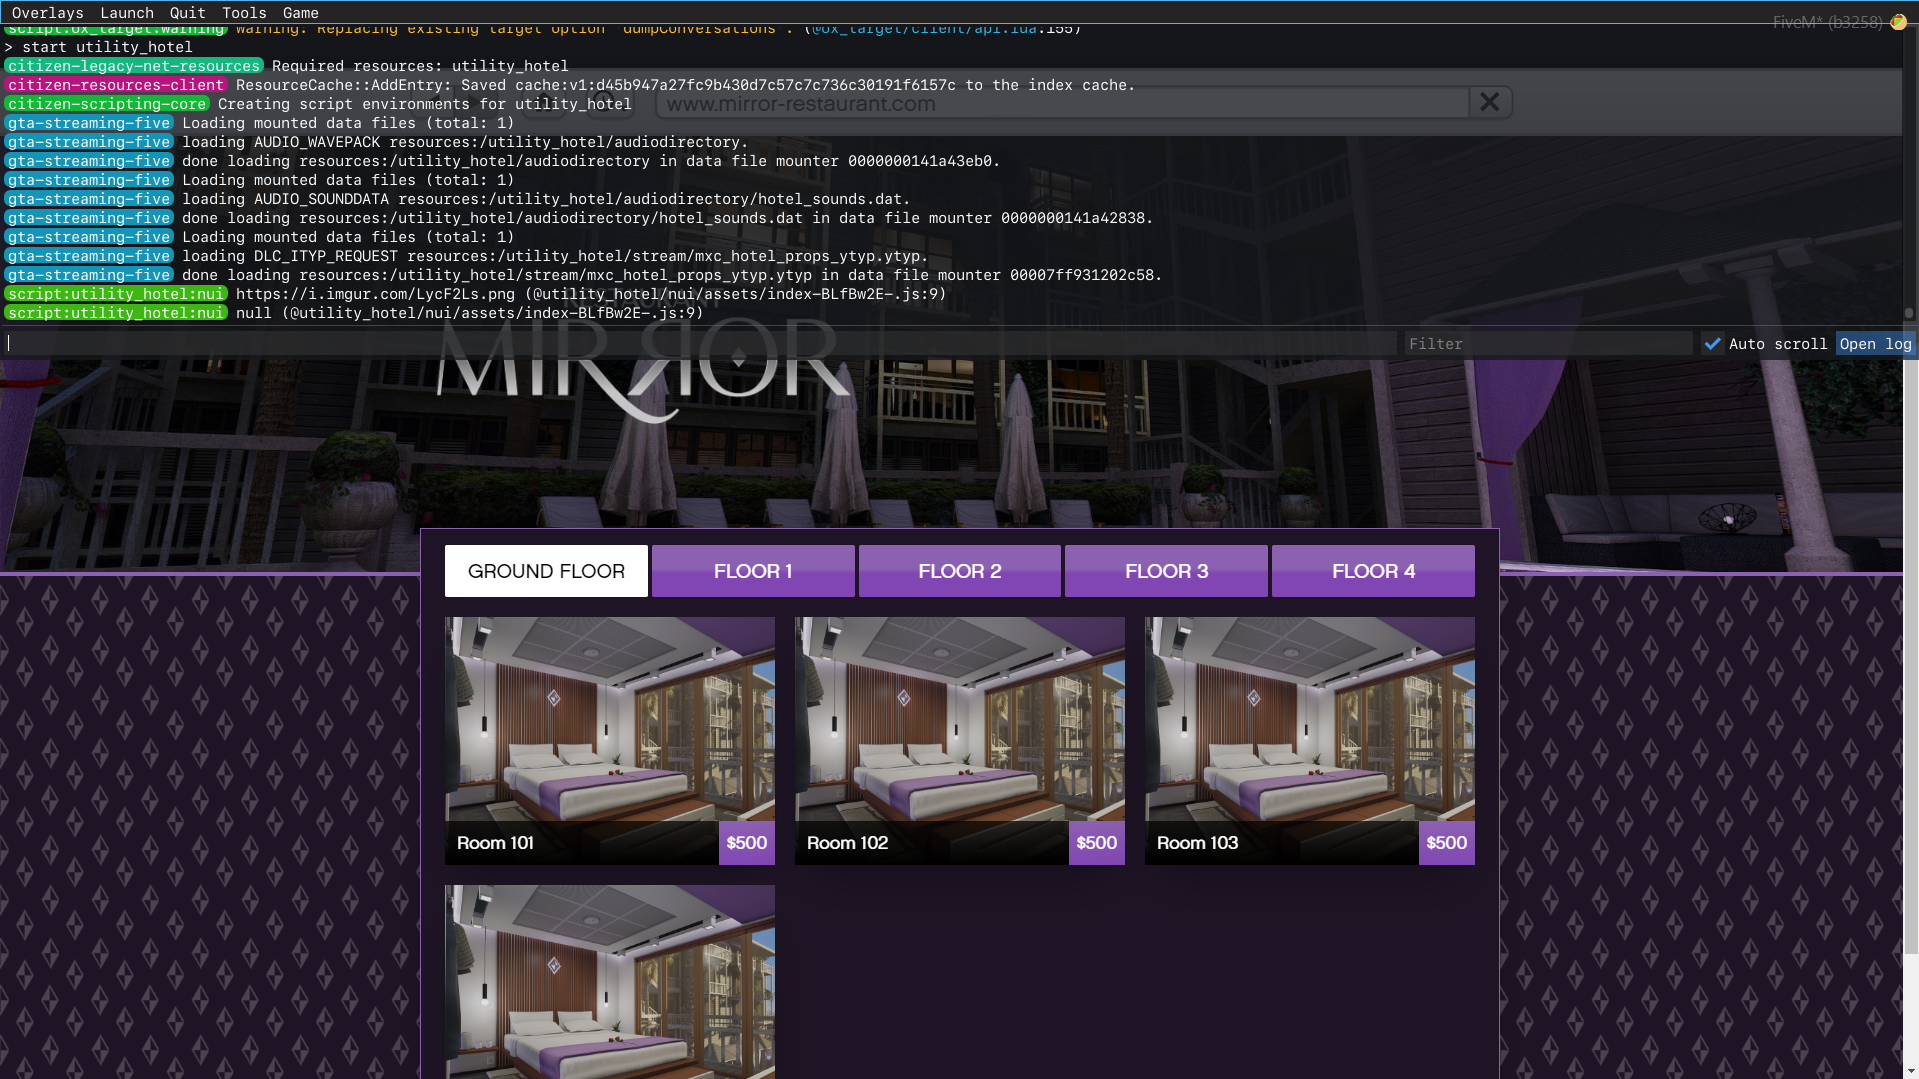
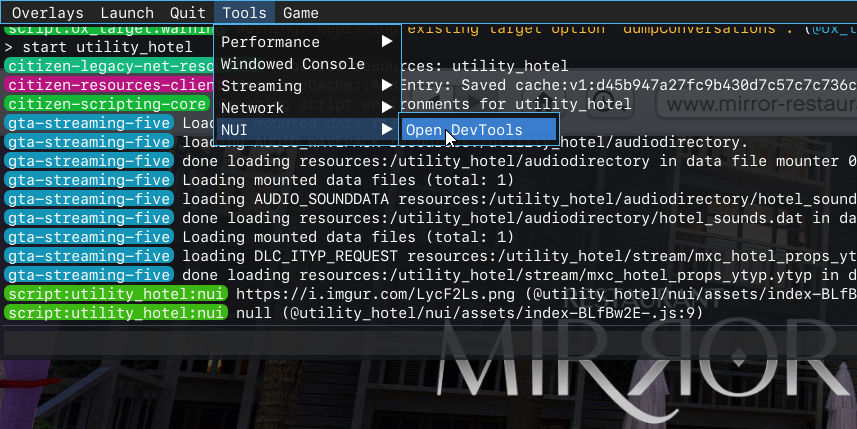
4. Enable NUI DevTools
Now navigate to Tools > NUI > Open DevTools in the FiveM console.This will open the Chromium Developer Tools for the current UI.
5. Find the element to change the colors
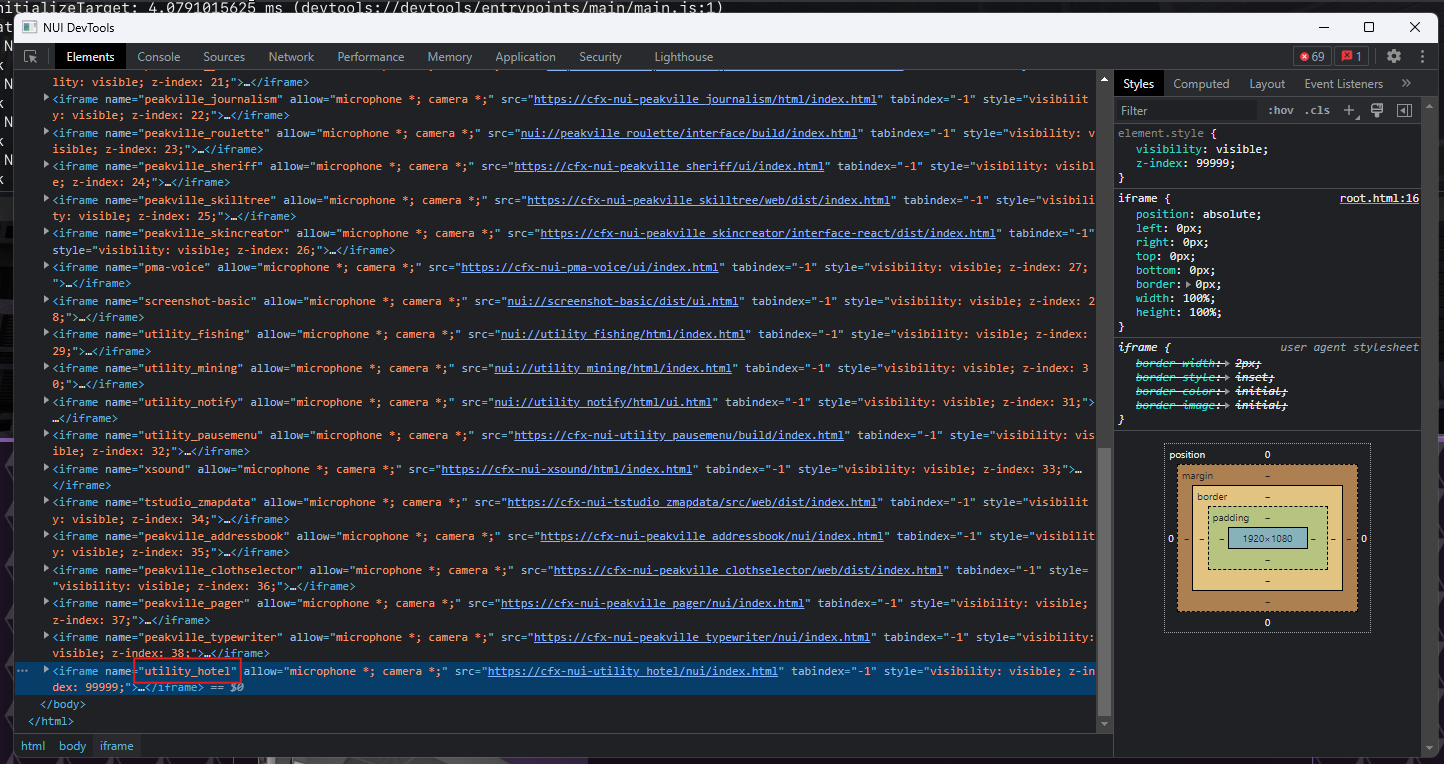
Inside DevTools:- Open the Elements tab
- Scroll down until you find the
<iframe>element namedutility_hotel
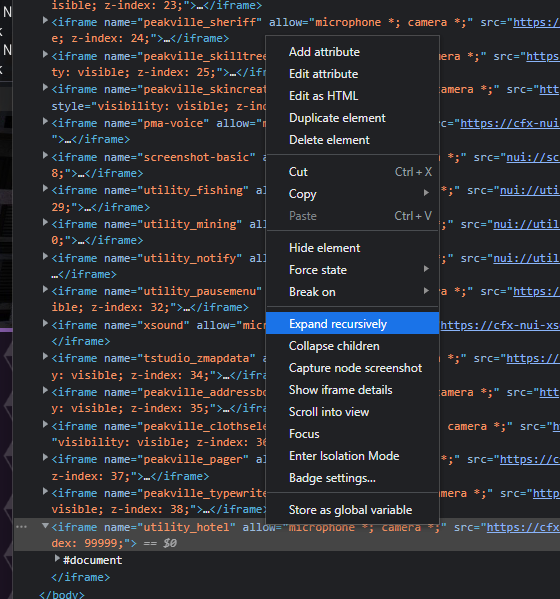
- Now right click on the
<iframe>element and select Expand Recursively
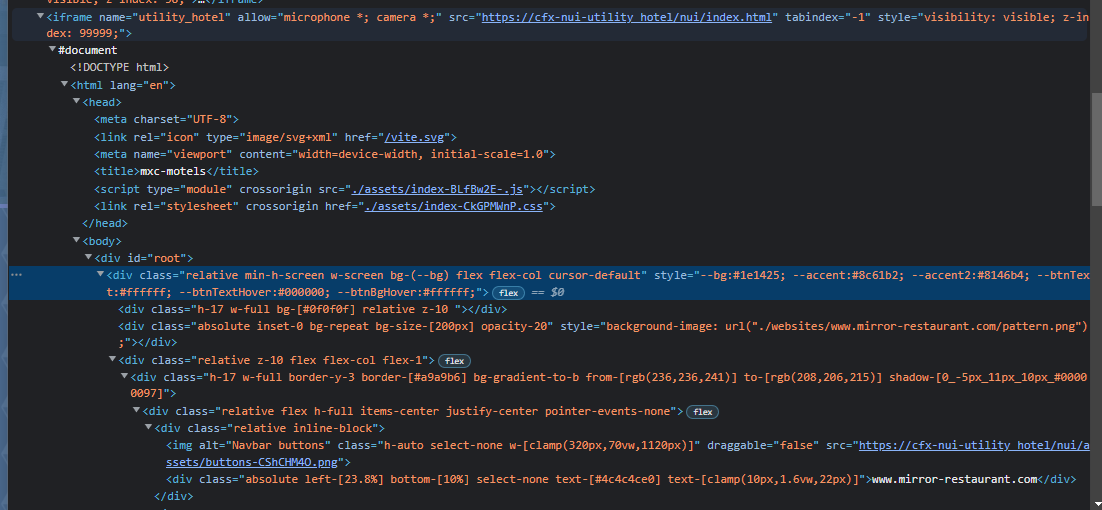
- Scroll down until you find and click the first
<div>element inside the<div id="root">element
6. Modify the Colors
Once you locate the correct element:- On your right you will find the Styles tab, there you can see the current color values
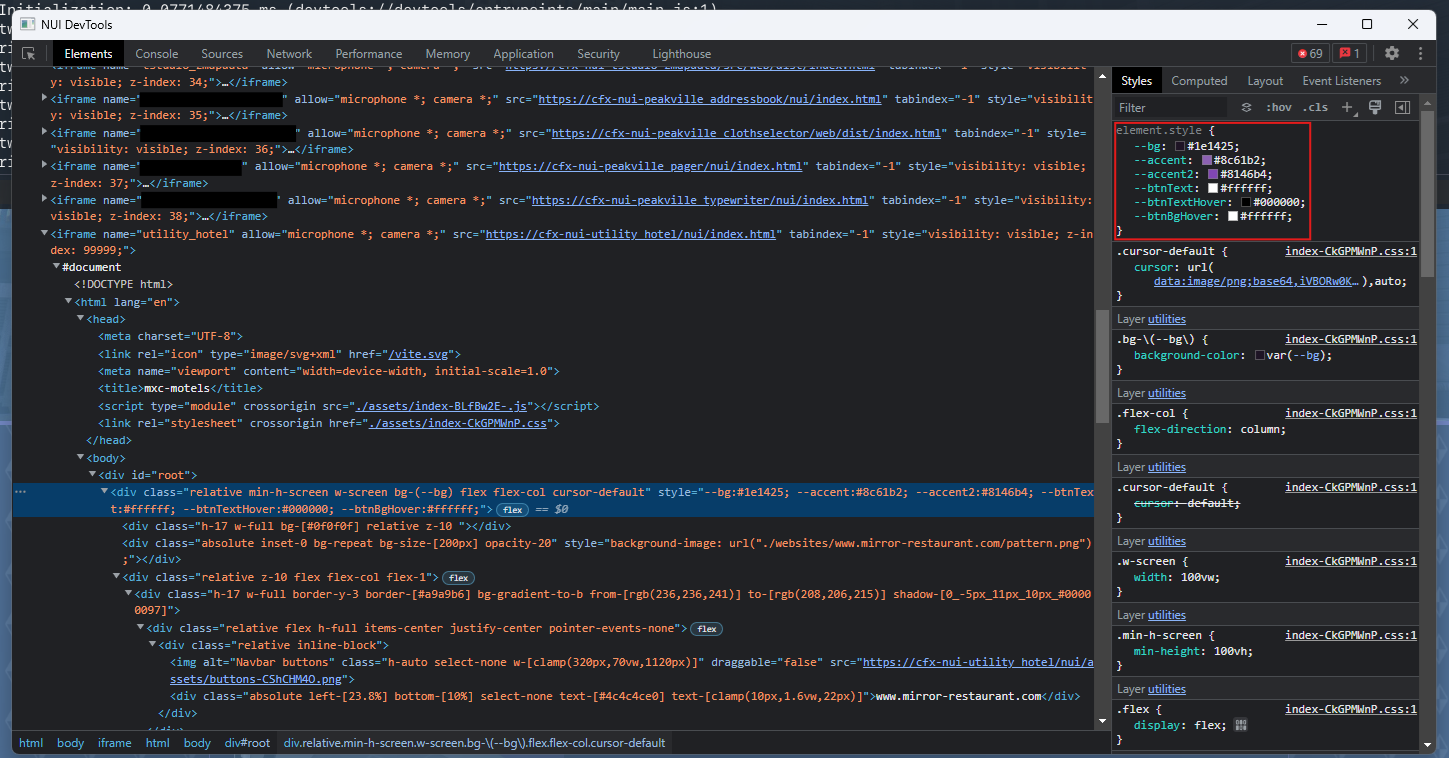
- To change the color values, click on the small rectangle next to the color you want to modify and see the color change in real time
7. Apply Final Values to Config
After finding the colors you like:- Copy the final color values
- Paste them into your screen UI configuration
- Save the config file
Why This Method Is Recommended
Using NUI DevTools lets you:- Preview changes instantly
- Avoid repeated restarts
- Fine-tune GTA-style color balance
- Find the perfect accent contrast
Final Checklist
Before testing the website, make sure:- The folder is inside
nui/websites/ - The folder name follows the format
www.<name>.com - All required images are added
- The screen UI configuration URL matches the folder name exactly